
 |
| Peggy Sue the pop up on our maiden voyage in February of 2017! |
We bought Peggy Sue in December of 2016, and I had no clue what we were doing. Sure. I had started a Pinterest board full of ideas. I even had a color scheme in mind. Beyond that, I was oblivious to the legitimate details and work of redoing that camper! I learned as we went along, and it was a great project! If you are diving into those unknown waters, I have a few tips to get you started.
 |
| A used pop up camper is an excellent and affordable way to get started with an RV. |
I Bought a Pop-Up Camper, Now What?
If you haven't actually finalized the deal, stop and think beyond those lovely photos of finished pop-up camper redos on Instagram. There are lots of people selling and buying campers right now. But, just because a pop-up is for sale does not mean that deal is for you! Someone asked me last week about how to actually find a pop-up camper to purchase. I posted on Facebook that I was looking for a pop-up camper to buy. Someone I knew had a friend with a pop up he wanted to sell but hadn't listed it yet. That very pop up became Peggy Sue.
I pass dormant pop-up campers in yards every week. Someone out there has a pop up for you to purchase. You just have to find the right one. Finding the right pop up with the least amount of damage or the amount of damage you are willing to deal with is much more important than the cute vision board you have created mentally.
Once you seal the deal, I recommend that you make a list of needs and wants for your new purchase and make a budget. Prioritize that list. We learned the hard way that having a photo-worthy interior isn't the most important thing on the road. And, if you dig into the actual needs first, it might propel you to get to the fun stuff of decorating!
 |
| A good scrub will make a huge difference in the overall look of your new pop up camper. Using the right products for the job will make work easier. |
Clean and Inspect
Start out by cleaning and inspecting your pop up from top to bottom. While you should inspect everything as you purchase, give it another run through at home. Some things I recommend doing are to:
- Give the exterior a good scrub with an RV wash and soft cleaning brush. I liked using a brush that attached to our drill.
- Crank up your pop up camper and inspect the canvas. Look for any tears and holes. With everything expanded, run a water hose over everything to reveal any hidden leaks.
- Clean the interior from ceiling to floor. Wipe down the interior canvas, floors, cabinets, and ceiling. DO NOT use bleach. If you have mold or mildew, use a cleaner that can be used on RV equipment. Finally, get in the habit of using RV specific products that won't damage your interior and moving parts. Two products that I really love are 303 multipurpose cleaner and Thetford Kitchen and bath cleaner.
- Clean the filters for your heating and cooling system with a mild detergent and allow them to dry completely.
- Clean and treat your awning.
- Treat your canvas with water repellant if needed.
- Assess your mattresses. I would replace them if you are purchasing a used pop up camper. We used sofa replacement mattresses that were perfect.
I can go ahead and tell you that RV specific products are more expensive, but they are worth the investment over the long haul. Keep your RV cleaning kit handy once you have it in place, and you will be ready to keep your pop up camper clean and ready to use for years to come!
 |
| We replaced all of the exterior ports and inlets on our pop up camper over time. These were some of the easiest projects to do! |
Make Necessary Repairs and Updates
Anything structural or mechanical should be addressed first with your new pop up purchase. Every pop up is going to be different. One that has been well maintained or used very little may need minimal work.
- Check the tires and purchase new ones if necessary.
- If there are leaks in the roof, make these repairs now.
- Repair wood rot or other items that need repairing.
- Check water lines and hookups. Replace any of the exterior outlets and covers.
- Repair any necessary items related to the door.
- Check the cabinets and floors for any additional water damage or places that might need repairs.
Be patient with repairs and don't get in a rush. It may take a bit of time to find parts and get the job done. Call friends to help that are handy with tools if needed. But do this before you dive into decorating and all of the fun tasks. If you are organized, you can tackle several easy repairs in a day. Replacing the exterior ports and hookups is a simple project that can be done in an hour or two. We did all of our updates over time as we camped. By stretching this out, I felt like I was always working and updating something between trips. I feel like we would have enjoyed camping more during that first couple of years if we would have taken an extra month or two to just get everything done from the start. This is where we rushed, and I wish we hadn't.
 |
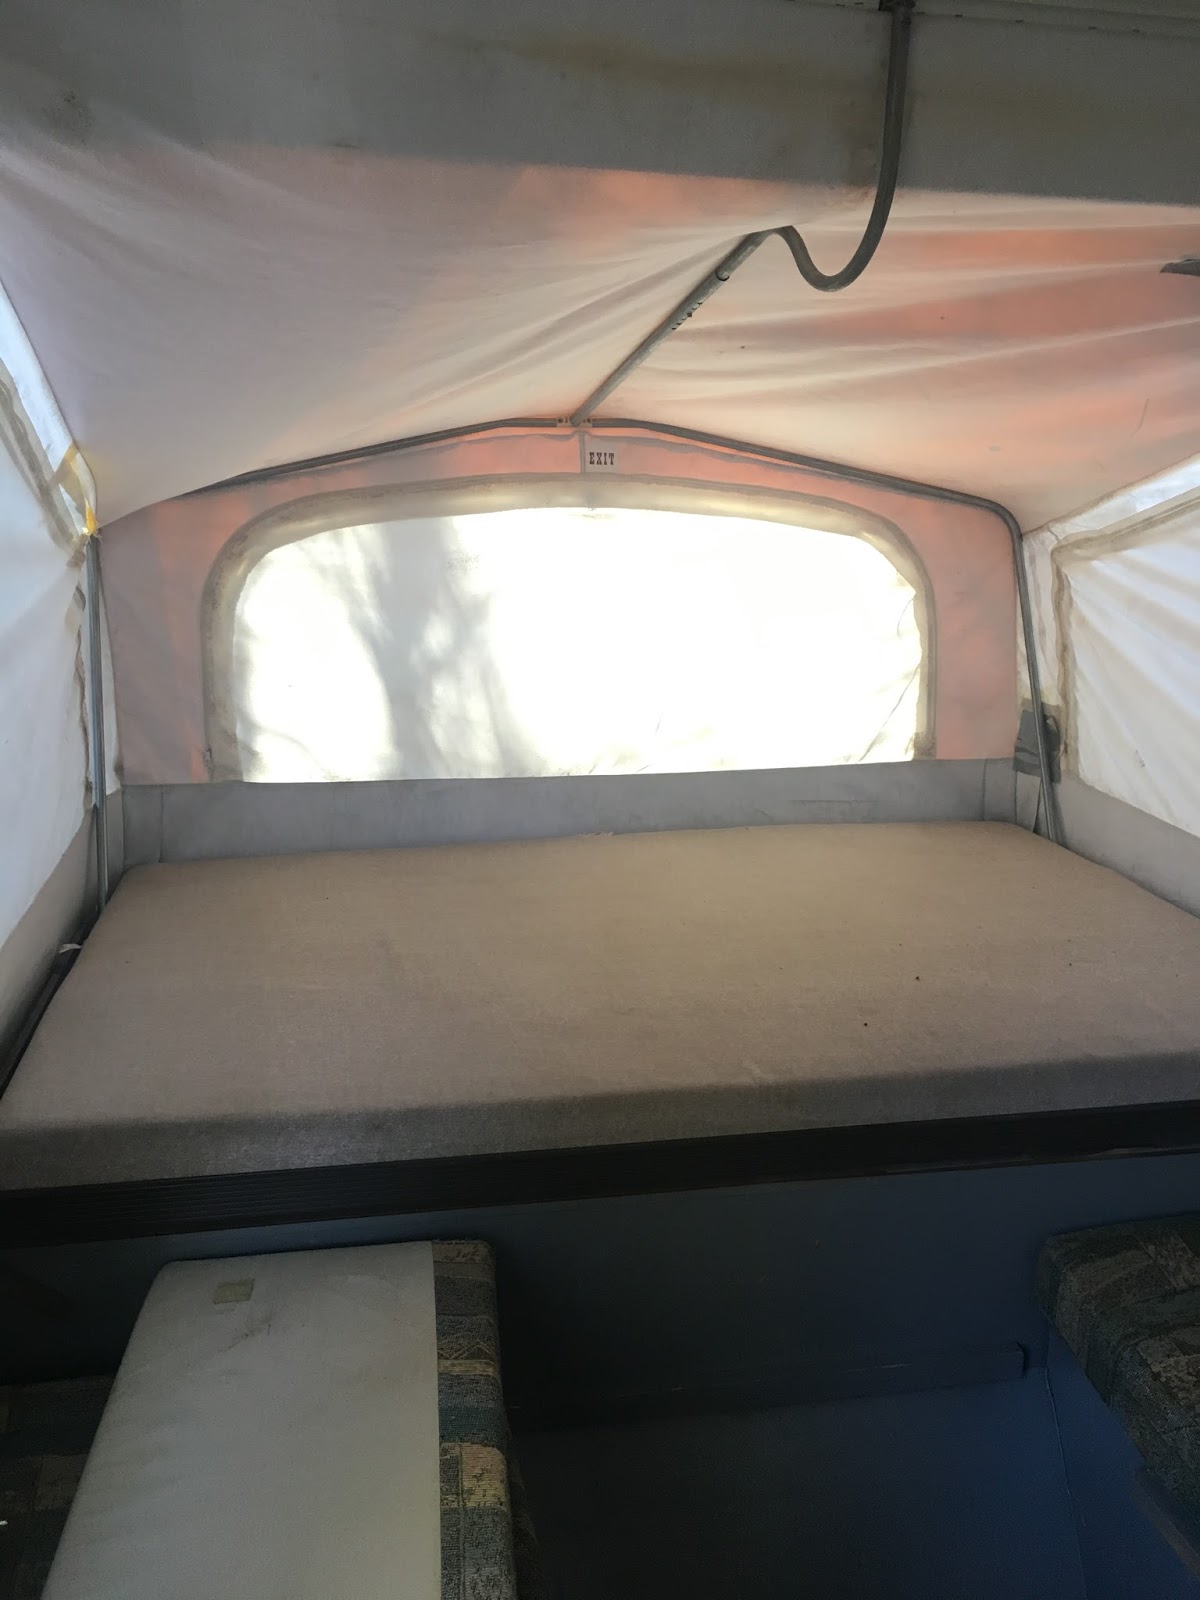
| Our new canvas on our pop up camper was long overdue. Canvas Replacements helped us to get the right size canvas. And, we had it professionally installed. |
The Canvas
One of the biggest mistakes we made when owning Peggy Sue was waiting to replace the canvas. The cost of sinking $1000 into a canvas was just something I couldn't wrap my head around in the beginning. But, in hindsight, we should have replaced it the first year before ANY of the fun stuff. If you have lots of tears, it looks to be dry rotted or anything beyond tiny holes or things that you can easily repair, replace it!
A brand new pop up camper or a nearly new one can be a costly expense. But, if you purchase a cheap pop-up camper for a few hundred dollars, the canvas being replaced as the main expense could be well worth the investment. I only say this if you don't have tons of water damage and other structural problems.
If you are on the fence, stop and think all of this through thoroughly. A canvas that you are just barely making it through with is a recipe for getting rained on during the night, stressful setup and takedown as it tears more around you, and just an overall bad experience. We learned this full-on as we literally duck taped our barely-there canvas for our Thanksgiving trip in November of 2018. The worst thing we did was wait! If you are looking at a pop-up camper that it is apparent that you are going to be replacing the canvas, factor this into your price negotiating. A great pop up camper with good bones could be worth saving with a brand new canvas for the right price.
 |
| These counters cost less than $50 to redo and held up great over time! |
Flooring and Cabinets
If you have addressed the structural needs of your new pop up camper, then start working on the inside. Depending on your overall plans, you can do as much or little of this as you like. I see so many different ways to redo the interior of a pop-up. The floors of our pop up had already been done, but a nice peel and stick vinyl will work perfectly. The sheer size will reduce the number of materials that you will need. If you like your flooring as is, leave it and move on to something more important to you.
You can also paint the interior cabinets if you would like. Make sure that you use something that is durable and will hold up to regular use. We used some leftover paint from a bathroom in our home.
Counters can be as complicated or simple as you choose. I felt like using an adhesive vinyl made just for counters was an excellent choice. It held up perfectly over our years of use and was very durable. This cost less than $50 to do, and I loved the results.
 |
| Peggy Sue was a diamond in the rough, and I felt like she made an excellent camper for our family! |
Bedding
I highly recommend replacing your pop up camper mattresses in a used camper. Lots of people also have questions about how to make your bedding more comfortable. Adding antifatigue mats underneath your mattress will create some much-needed cushion during the night. These mats will also add some insulation during cold weather camping. You can get these at Harbor Freight. Or, you can order them from Amazon.
Aside from the mattress and antifatigue mats, I encourage you to look for easily affordable bedding that you can wash and will last over time. I went for simple quilt sets from Wayfair that were inexpensive and practical. If you want a solution that is easier to make-up, Beddy's bed sets will allow you to zip up around the mattress and make your bed with ease. They are much more expensive, but we really love the comfort and functionality of our bedding.
One final tip about bedding is to make your beds before heading to the campground. Pop up your camper, extend the beds and make them from the outside without the canvas being closed around it. Then, close it all up. When you get to the campground, you are almost there! And, it is much better than the Olympic workout you will give yourself while crawling around inside to make your beds! Trust me!
 |
| I made box cushions to replace the original cushions in our pop up camper. I love how they turned out even if they were a lot of work initially! |
Cushions and Curtains
Your cushions and curtains in your pop up camper can really create a homey interior. I probably took the most complicated route for this, but I LOVED the results. Plus, I have been sewing for a while, and I was willing to take risks and put in the work. Curtains and new cushions aren't a necessity either.
If you are looking for tutorials, you can check out how I made my curtains and cushions.
 |
| This before and after photo shows the work that went into making Peggy Sue our pretty pop up camper! |
Finishing Touches
After you have done all of the big jobs, you can move on to little decorative touches and camping gear. I do have a page devoted to Glamping Gear as well as Camping Gear. However, think about how to organize your stuff that will be inside of your camper. You will be storage for:
- Clothing storage -I used plastic bins with drawers that I packed our clothes into and put on top of a cabinet for use while camping.
- Pantry and food storage - We hung a hanging shelving unit over our sink for food storage.
- Places for towels - Baskets work well for rolling towels and storage.
I also had a storage basket for coats and jackets and another one for shoes. Little baskets can be used to hold items and keep them from just laying around or getting lost.
 |
| Our farmhouse table replacement turned out perfect and looked great. Plus, it was easy and affordable. |
I also made a new table for our pop up since the one that originally came with our camper was missing. We didn't use the table all of the time, but it worked great for rainy or cold days.
If you are new to owning a pop-up camper, it is such a fun way to camp that takes tent camping to the next level. It is affordable and works well for campers that have a light towing package on an existing vehicle. Feel free to drop me a line and ask any questions you have.
This is a great time to get into the RV lifestyle and head outdoors for some fun. Until next time...

This post contains Amazon Affiliate Links.
 |
| Pin this post to your favorite Pinterest Board. |
Post a Comment
Thank you for your feedback and comments. I always review before sharing with other readers. Have a great day!